If you can think it, a good CGI generalist can create it. Of course, there are several stages that those initial ideas need to go through before they transform into beautiful butterflies (or in our case, photo-realistic or stylized product knockouts, room sets, and animations).
Ready to learn just how your CGI concept turn into reality? Let’s navigate the many stages of CGI creation that it takes for your initial concepts to turn into fully-rendered CGI assets.
Stage 1: Creative Direction
A little preparation, and the sun’s massive gravitational pull, makes the world go ‘round. Every CGI project from product knockouts to complex animations requires some time to plan exactly what you need and how you want those assets to look.
For product knockouts, we’ll need to go over certain concept decisions like camera angles, lighting, and the textures for the products themselves. We’ll also ask for any examples that we can use for reference. No surprise here, but an actual physical product is the best reference if you have one. If not, any prototypes or swatches of different finishes material will make the process less dependent on our imagination (although we are pretty imaginative people).
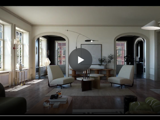
Any room sets or lifestyle scenes will require some additional creative direction. We’ll need to plan out exactly how you want your CGI environment to look and determine a shot list so that our artists know exactly what they need to create. As such, our design experts work with you to nail down your specific style or design aesthetic and put together a design board that includes several elements.
-
A diagram with full dimensions of your scene that’s based on one of our existing room sets or customized to your aesthetic.
-
A prop list made up from items out of our digital prop library or real-world props.
-
A list of which products and materials will be included in the scene.
-
Paint and material swatches for the walls and other items or furniture in the scene.
-
Inspiration and reference photos.
If you think that sounds like a lot of planning, CGI animation requires even more preparation. In addition to everything in the list above, animations will need some form of script that provides at least a brief description of what you want to animation to do.
Stage 2: CAD Collection
Once your creative direction is approved, it’s time to convert various files on other items into CGI shapes and details. We’ll take any CAD files for product and convert them into 3D models. We’ll create preview renders called “grays” because they’re, well, basic gray versions of your products that we’ll use during the initial few steps of the CGI process.
Of course, these grays still need to be pretty accurate to the real product. We’ll send these grays over to the client to make sure it’s the right product and that the geometry is correct, which is a fancy way of saying everything looks good. If the client has any materials or textures, we’ll also digitally recreate your materials and textures in our 3D software along with any desired props that aren’t in our CGI library.
For animation projects, we’ll create a very basic version of what the client wanted. This pre-visualization, also called a pre-vis, gives clients a chance to see whether we’re on track with what they want or if we need to make any adjustments before we go too far into the animation process.
Stage 3: Room Assembly
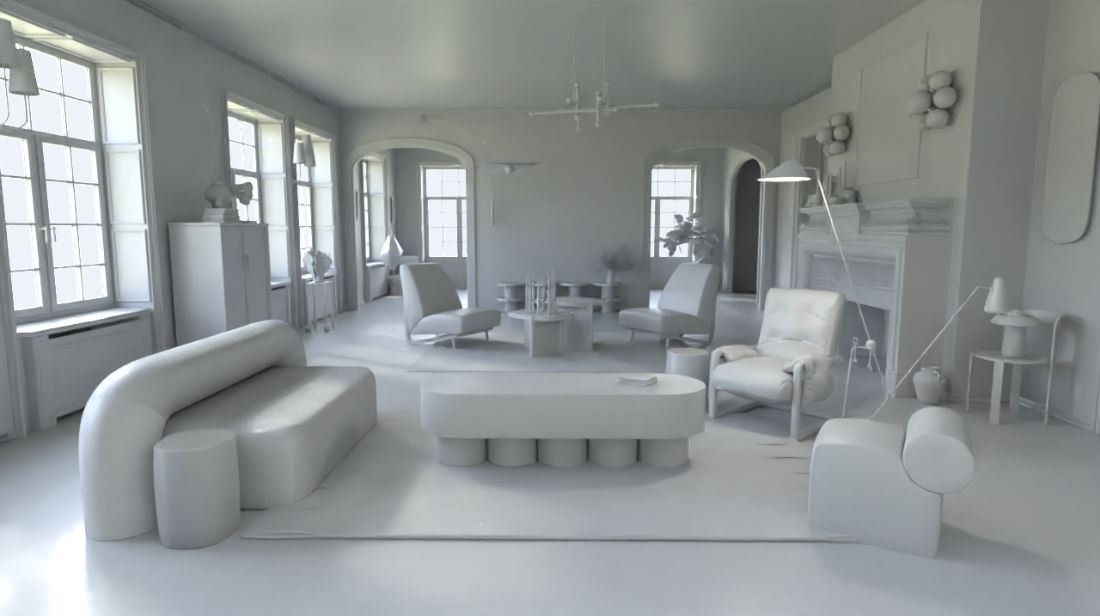
Now that we have our base assets, it’s time to put them somewhere if your project calls for a specific room or environment. We’ll build out everything from the floors to the ceilings and add the base assets to the scene.
Like the base assets themselves, everything in the room is gray. We even call it a gray room because we can’t be creative about everything. Don’t worry, color will come eventually. The key right now is to make sure everything is placed in the right spot before we get too far into the CGI process. As such, this is the time for clients to say yeah or nay on everything gray.
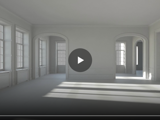
Stage 4: Camera Review
The camera review is the time where the clients will make sure that we have the proper angles set for all their CGI assets. We’ll screenshare our completed gray room and we can move our digital camera to let them see how it looks from different angles. The exact angles are called out in the shot list, so this phase is a chance for clients to review each angle and either request changes or approve the shots.
Animation projects go through some additional steps during the camera review. We’ll check with the clients to see if every part of the animation is moving the way that it should and at the right speed. Once the movement is approved, we can move on to the next step in the CGI process.
Stage 5: Apply Details
Remember all those details that we converted into CGI along with the products? It’s time to use those to turn the grays into something a little more exciting. The main details we’ll apply to products and other base assets include:
-
Lighting
-
Materials
-
Textures
We can also apply some other fun visual details to images and videos as well. Particle effects, water, and smoke are all real possibilities that can be planned out during the design phase and applied to these less-than real, but still hyper-realistic assets.
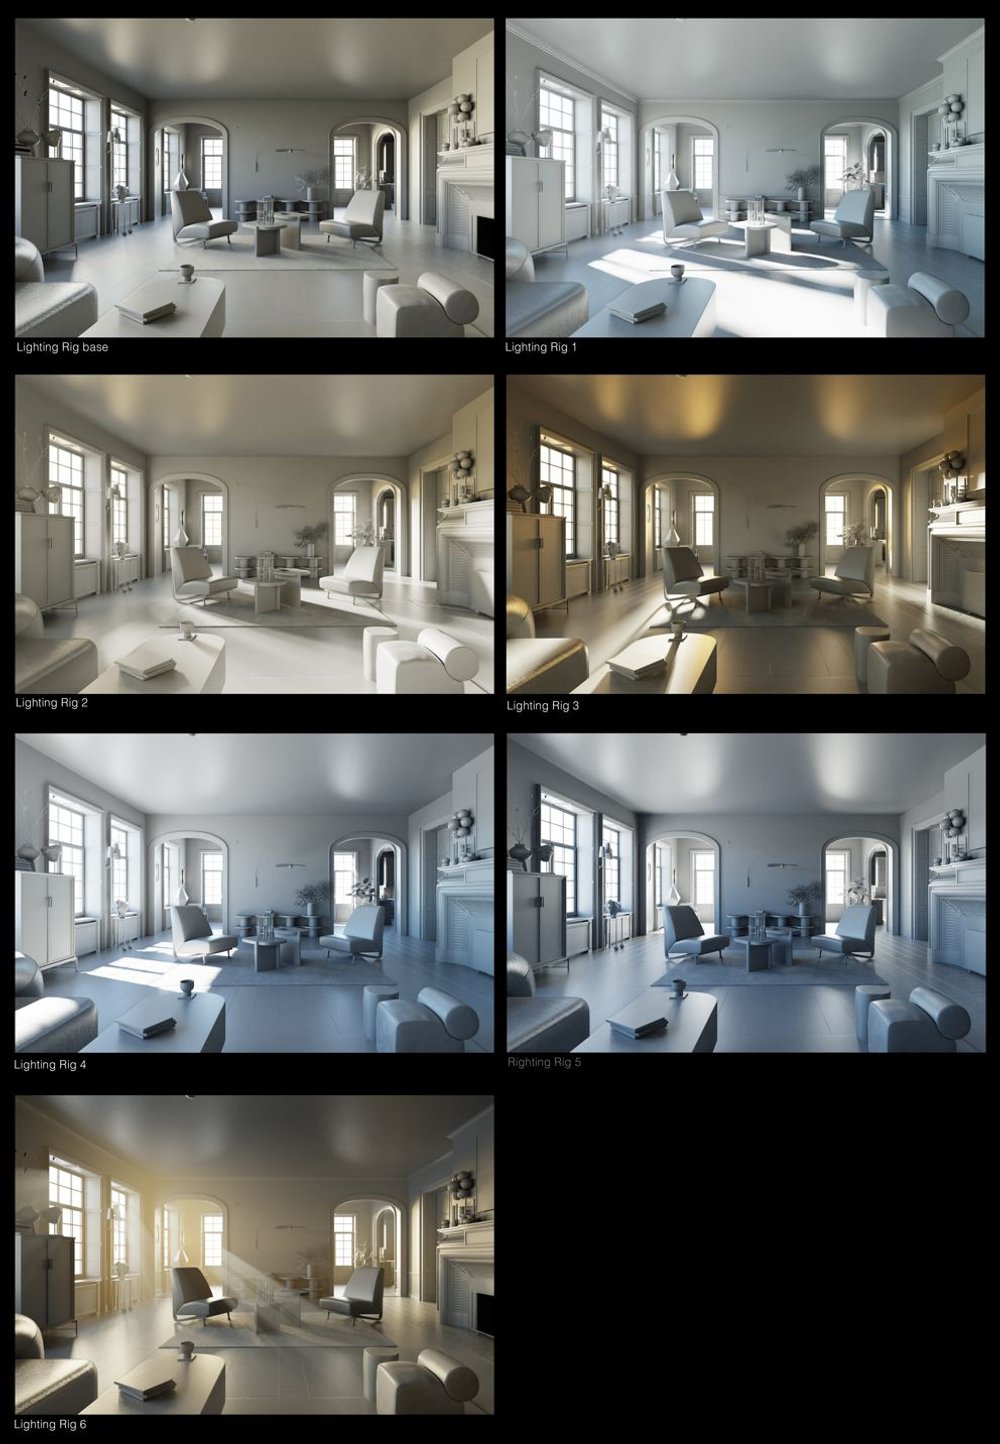
Stage 6: Look Development Review
Oh hey, it’s time for another review! This step is similar to the camera review, except with a lot more color and the details that were mapped out during the design phase. We’ll provide clients with half-resolution images or videos that have only been partially rendered to save some time – full renders can take a couple hours per product knockout, up to 20 hours for a full room, and much longer for animation.
While not full resolution, these half-res renders will still give clients a great example of the different camera angles they chose. The overall assets should be pretty close at this stage, but there’s always a chance that clients may want us to move a prop a little bit to the right, adjust the color of the couch, or make other small changes that will make a big difference to the finished asset.
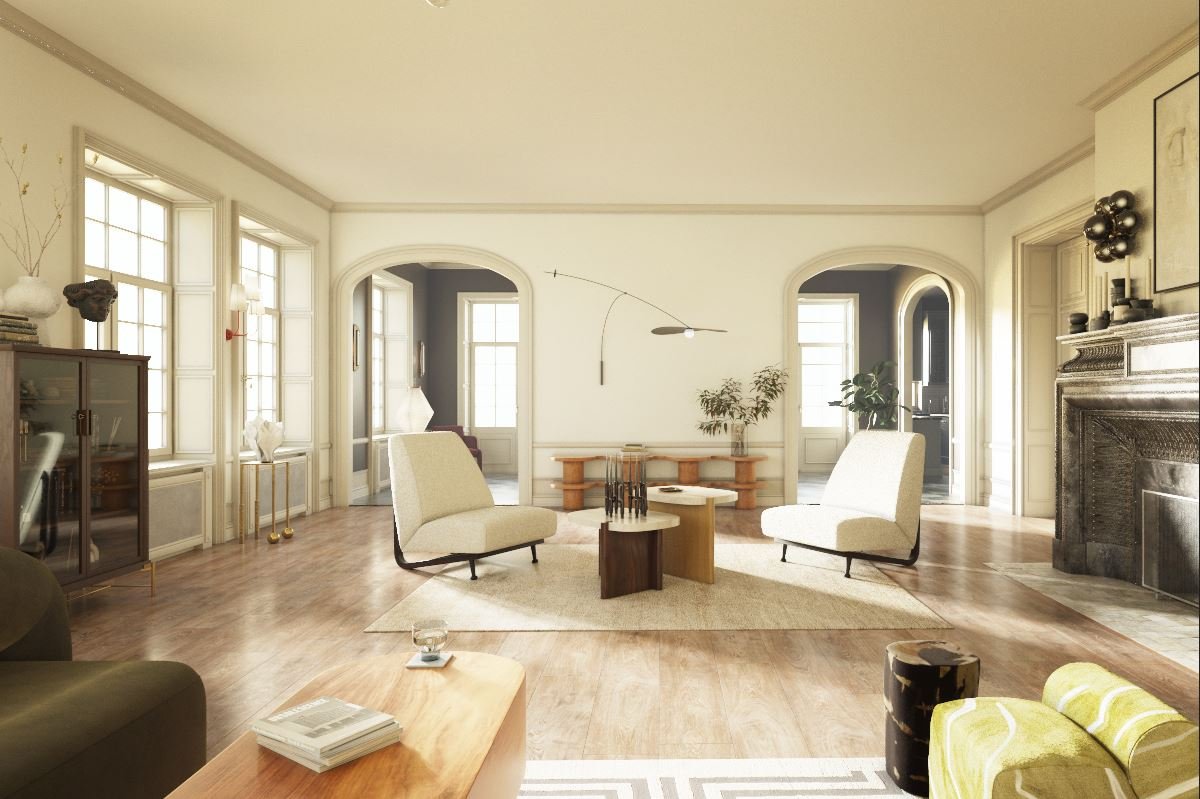
Stage 7: Final Render
After six stages, several reviews, and a lot of time spent staring at a computer screen, it’s time to take the last step (at least for this part of the CGI process). We’ll tell clients that we’re rendering the final high-res images and videos, officially taking these assets from concept to render.
Of course, that’s not the end of their journey. There’s an entire post-production process dedicated to editing these assets and putting on any final touches necessary to make them as perfect as possible. We’d tell you more about it, but we already wrote an entire post about what post-production means and what it takes to make a final render even more final.
Need a Lot of CGI? No Problem.
After reading this far, you probably recognize that we know a thing or two about creating CGI images and animations. You’d be right. We work with brands around the world to create the high-end CGI assets they need for their brands.
Got a cool CGI concept? Contact us today to find out how we can create the perfect CGI images and animations for your brand.


