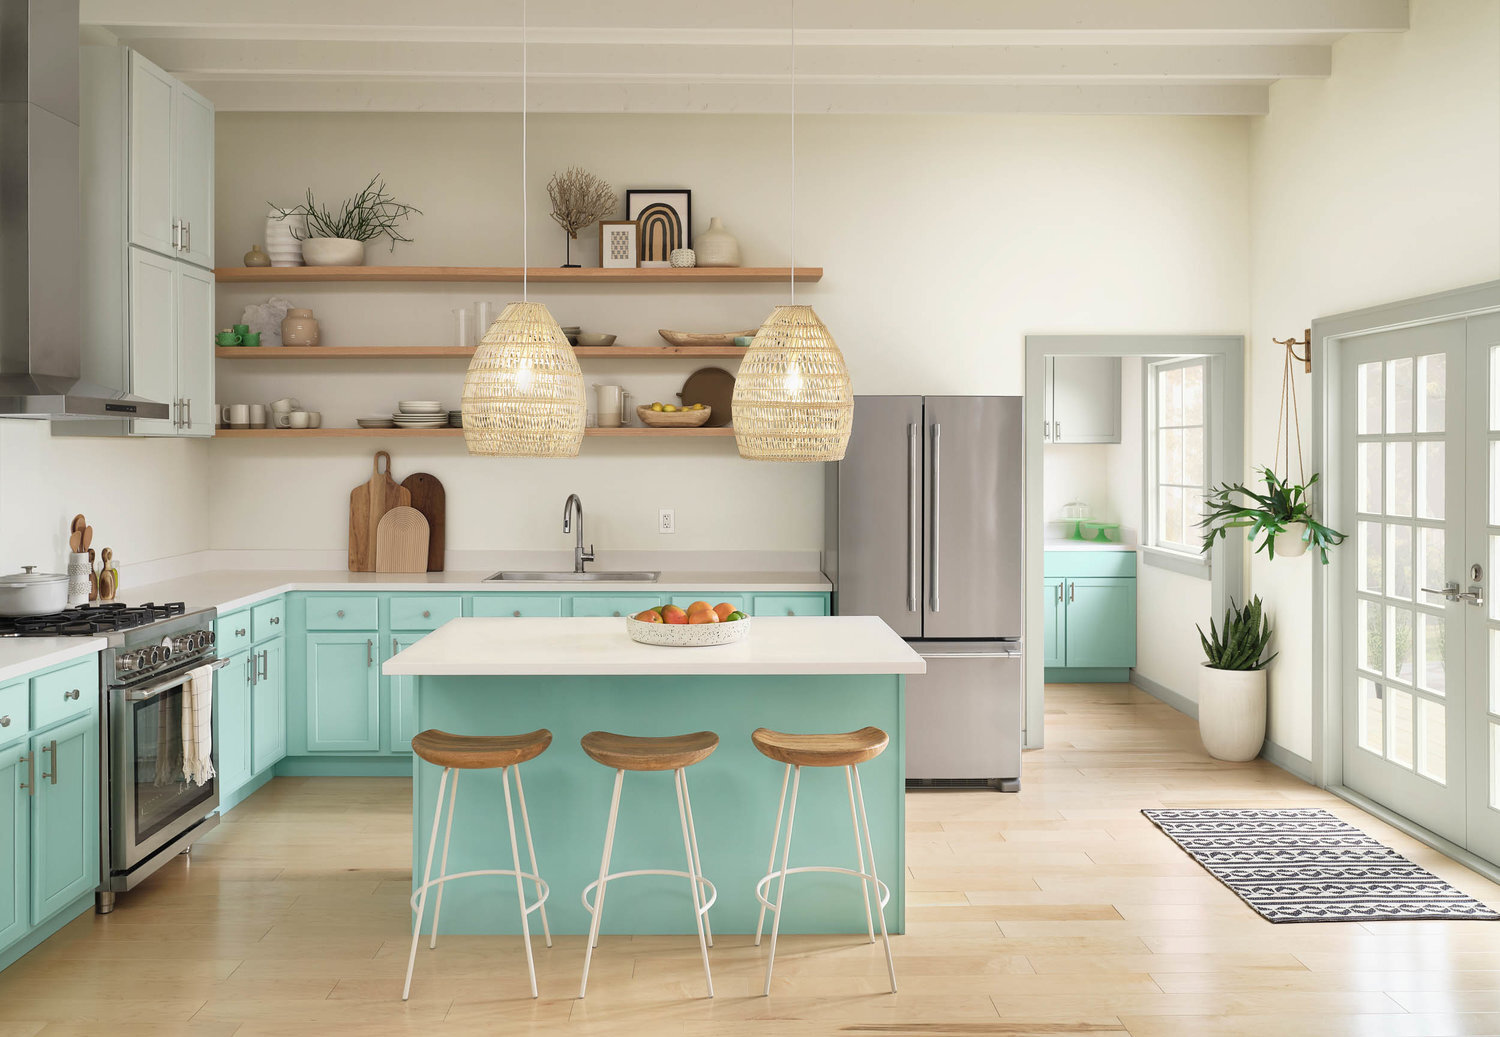
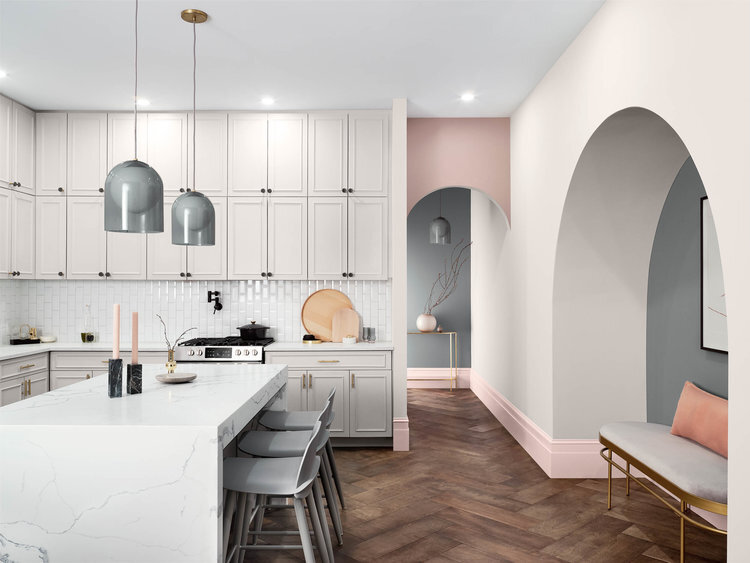
You may have a scene in mind for your next photo or video project, but you need to lay the groundwork for your project before you can turn your ideas into usable assets. There are a lot of steps required to make sure your set is perfect for your project, all of which are handled during the pre-production process. Here’s what it takes to get your set ready from the start of a project to the day of your shoot.
First Steps: Quoting and Discovery
To figure out which type of set is best for your needs, it’s important to start with a conversation. If you already know that you need some form of set for your project, the first question that we’d ask is whether you’ll need a stock or custom-built set. Each one has its advantages and disadvantages, so we’ll want to identify which is best for your needs and budget.
Stock sets are the more cost-effective of the two options. These pre-made sets are adaptable to suit your specific needs. However, other clients can use it for other shoots. Custom-built sets provide a level of exclusivity for your shoots. The building process is more expensive, but a custom set is yours and yours alone. However, both stock and custom sets can provide various cost savings over the course of your project depending on your project needs.
The choice between the two can come down to preference, budget, and set needs. For example, if you need a set with running water or a built-in shower, it may limit your options. The more we know after our initial conversation, the better we can prepare a solution for your project. We’ll want to determine the scope of your project; whether it requires photo, video, or both. Some of the details we’ll use to figure out which set is right include:
-
A reference for the set
-
A general style for the set
-
Key set needs (ex. Specific room features)
-
A shot list and/or script
Once we have as much information as possible, we can figure out which set solution best fits your needs, along with how long the shoot will take, how many crew members will be required, and other factors. We will also need to estimate the overall cost of the materials required for the set as well. However, you can save money through co-op sets, which allows you to share your custom set with other companies in exchange for certain assets, like free cabinets or light fixtures.
All these factors impact our quote for the project, which includes if we think the project can work with an existing stock set or if the project is elaborate enough to require a custom-built set, unless you’ve already requested the latter. If the quote looks good to you, we can move on to the next phase of the pre-production process.

Second Phase: Production Schedule and Design
Now that we know your general project needs and have an agreed-upon quote in place, we can get to work on the specific details of your shoot. We’ll put together a production schedule with dates for various stages of the product, including design, set building, and the shoot itself. This schedule will also include dates for feedback and approval following various stages.
In terms of the design stage, you can expect to get boards containing specific details about what we plan to do with your set. Our stylist uses your detailed project scope to create a design board that includes several elements:
-
A drawing/diagram with full dimensions of the set and how we’ll use it
-
A prop list
-
A materials list with exact product photos (ex. a specific tile with prices)
-
Wall colors with paint swatches
-
Material swatches
-
Inspiration photos
-
Any required set modifications
These boards include specifics in terms of sourcing options for materials and how much each element will affect your budget. Once you receive your boards, you can provide feedback about certain design preferences and we can adapt the boards as necessary. Of course, certain changes may impact the budget and timeline for the project. For example, more expensive, high-end materials typically take longer to acquire since they’re not as readily available.
Once any required changes are made, we’ll send out the updated design board for review. If everything looks good, we can move on to the building phase.

Third Phase: Set Preparation
As soon as design boards are approved, we’ll work with our building team to determine what needs to happen in what timeframe. This process is dictated by our production schedule to make sure everything is ready in time for the final set review and the shoot.
A lot of the building process is based on the decisions made during the estimation and design phases. If you need a custom set, the whole process from start to shoot can take around six to eight weeks, whereas a modified stock set can be cut down to roughly two to four weeks. Of course, these timelines can change depending on material specifications and availability, as well as the overall scope of the project. If your shoot requires multiple sets, that can add time to the project.
After the set is ready, you’ll have a chance to do a walkthrough a few days before the shoot to review the space. During this time, you can check finishing touches, make sure product is in right area, see if everything is installed correctly, and request minor changes ahead of the shoot. We’ll make any required adjustments to the set to make sure it’s all set for production.
Final Phase: The Shoot
Once the set is approved, it’s time to move from pre-production to the actual shoot. Since shot lists and other details were discussed way back during the discovery phase, you can sit back and relax while our team of professionals shoot your project. Once they’re done and everyone is happy with the results, your set will either be returned to its blank, empty stock set state – or repurposed depending on if you used a stock or custom set.
Do you need the right multimedia production company to bring your products or services to life through commercial photography or video services? Contact TRG today to talk to one of our experts about what you need for your next project.


